
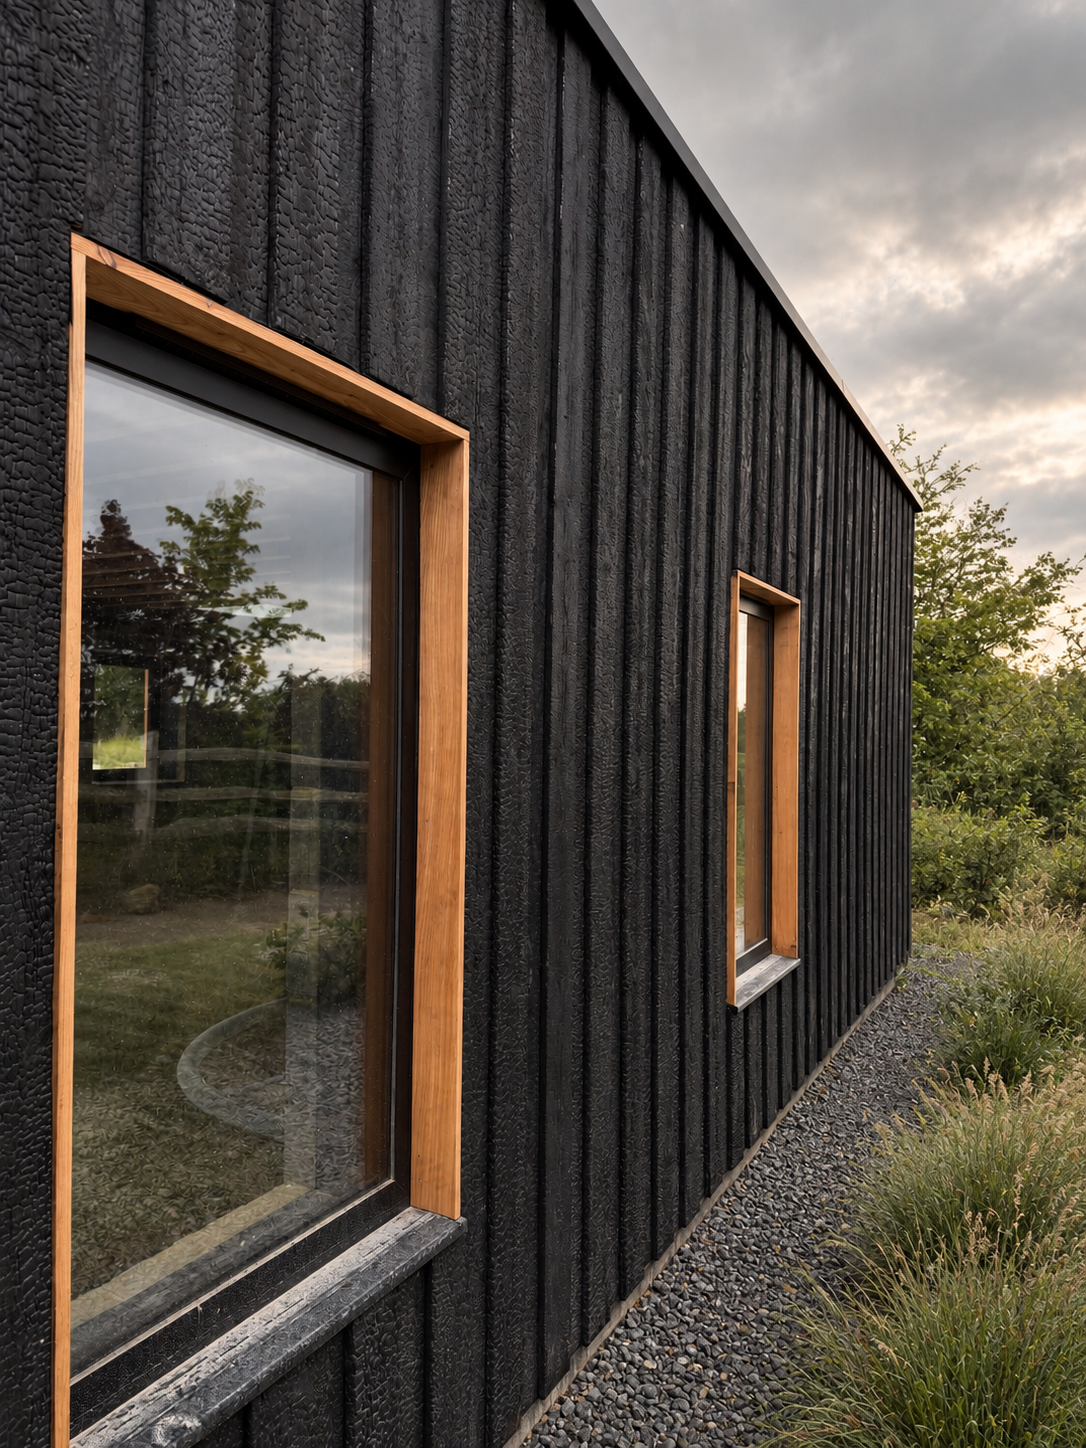
Installation, care & weathering
Designed to age with character
Charred timber is a natural material that continues to respond to sunlight, moisture and its surroundings. Correct installation and considered maintenance allow it to weather beautifully while protecting its performance for years to come.
Step 01
Before installation
01
Store boards flat
Store horizontally on a flat surface, in a dry, well-ventilated and sheltered area, protected from direct sunlight, rain and ground moisture.
02
Keep 20 cm off the ground
Boards must be stored at least 20 cm above ground level.
03
Allow acclimatisation
Allow the timber several days to acclimatise before installation, particularly during periods of extreme humidity or dryness.
04
Keep packaging on — but ventilated
Protective packaging should remain intact until shortly before installation. Boards must not be stored in fully sealed or non-ventilated packaging for extended periods, as condensation may occur.
05
Lift, never drag
Handle finished faces carefully and lift boards rather than sliding them across one another. Never place a brushed face directly against another finished face.
06
Lay out ten boards first
Spread at least ten planks before fitting and match them for grain, colour and texture — every plank is unique.
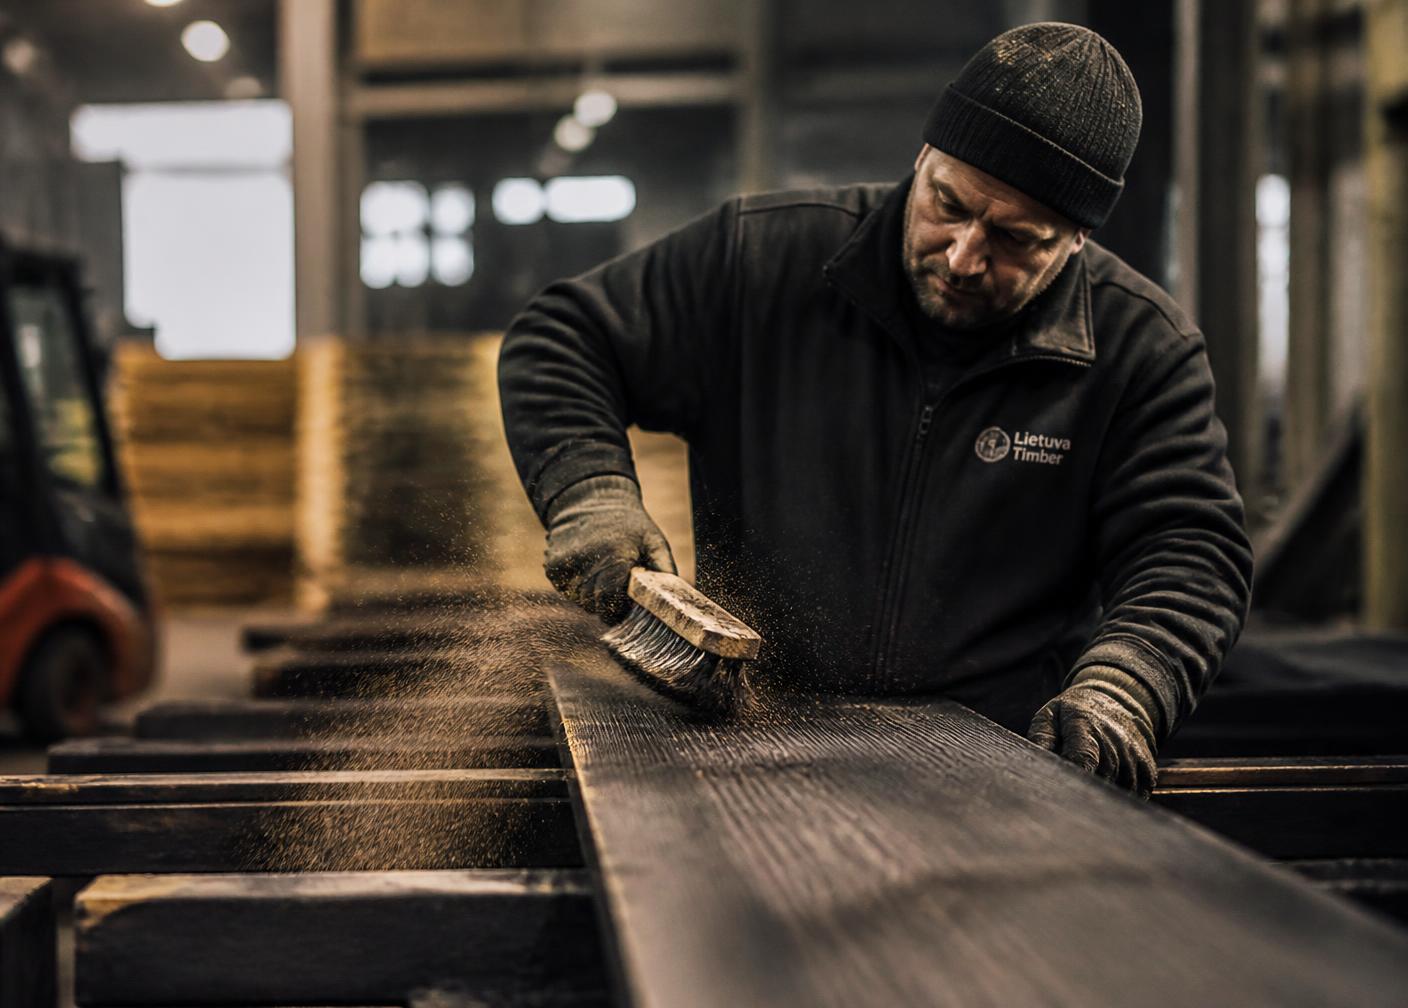
When calculating quantities, include an additional allowance of approximately 10–15% for cutting and installation waste.
Source: Installation Guide v1.02 · Quick User Guide
Step 02
Installing the cladding
Choose your cladding orientation to see the correct ventilated substructure and installation sequence.
Complete assembly
Vertical cladding requires a double-batten substructure. Install the first battens vertically over the breather membrane to create a continuous drainage and ventilation cavity. Fix horizontal counter-battens over the vertical battens, then fix the vertical cladding boards to the horizontal counter-battens.
The air must move continuously from the protected inlet at the bottom to the outlet at the top through the open spaces between the first vertical battens.
This diagram shows the general ventilated construction principle. Final batten dimensions, fixing centres, membranes, flashings and structural fixings must be confirmed for the selected profile, building design and local regulations.
This guidance does not replace project-specific engineering or architectural advice. The final façade build-up must be confirmed by the project's architect, engineer or qualified installer.
Fixing the boards
A2 stainless steel — standard environments
Only high-quality stainless steel fixings suitable for exterior timber cladding should be used. A2 stainless steel screws for standard environments.
Installation Guide v1.02
A4 stainless steel — coastal and humid
A4 stainless steel screws for coastal or high-humidity environments.
Installation Guide v1.02
Two screws at every fixing point
Two screws should always be used at every fixing point. A single fixing may allow boards to twist, cup, warp or move excessively over time.
Installation Guide v1.02
Straight, consistent fixing lines
All screws should be installed in perfectly straight and consistent lines, set out with a laser alignment system or a tensioned string line between the two ends of the facade section.
Installation Guide v1.02
Level heads, never overdriven
Screw heads should finish level with the plank — not driven inside it and not standing proud. Overdriving may damage the charred or brushed surface.
Quick User Guide
Pre-drill where splitting is a risk
Pre-drilling is recommended near board ends, when using hardwood species, during installation in colder weather and wherever a splitting risk exists.
Installation Guide v1.02
Quick User Guide reference: two stainless steel screws every 500–600 mm; 42 mm screws for 20 mm thick planks, approximately 40 screws per m².
Do
- Wear clean gloves when possible.
- Lift boards individually rather than sliding them.
- Protect finished surfaces from tools and rough contact.
- Remove metal filings and construction debris from the facade immediately.
- Treat cut ends created during installation to minimise moisture penetration.
Avoid
- Dragging boards across one another.
- Placing tools directly on finished surfaces.
- Stacking brushed or finished faces directly against one another.
- Overdriving fixings.
- Installing wet boards or working against a wet substrate.
Cut ends: sawn ends may be burned with a gas torch (optional) and should be treated with wood oil. If you are unsure which method applies to your finish, contact Inflamed before treating the ends.
Step 03
A surface that evolves with its surroundings
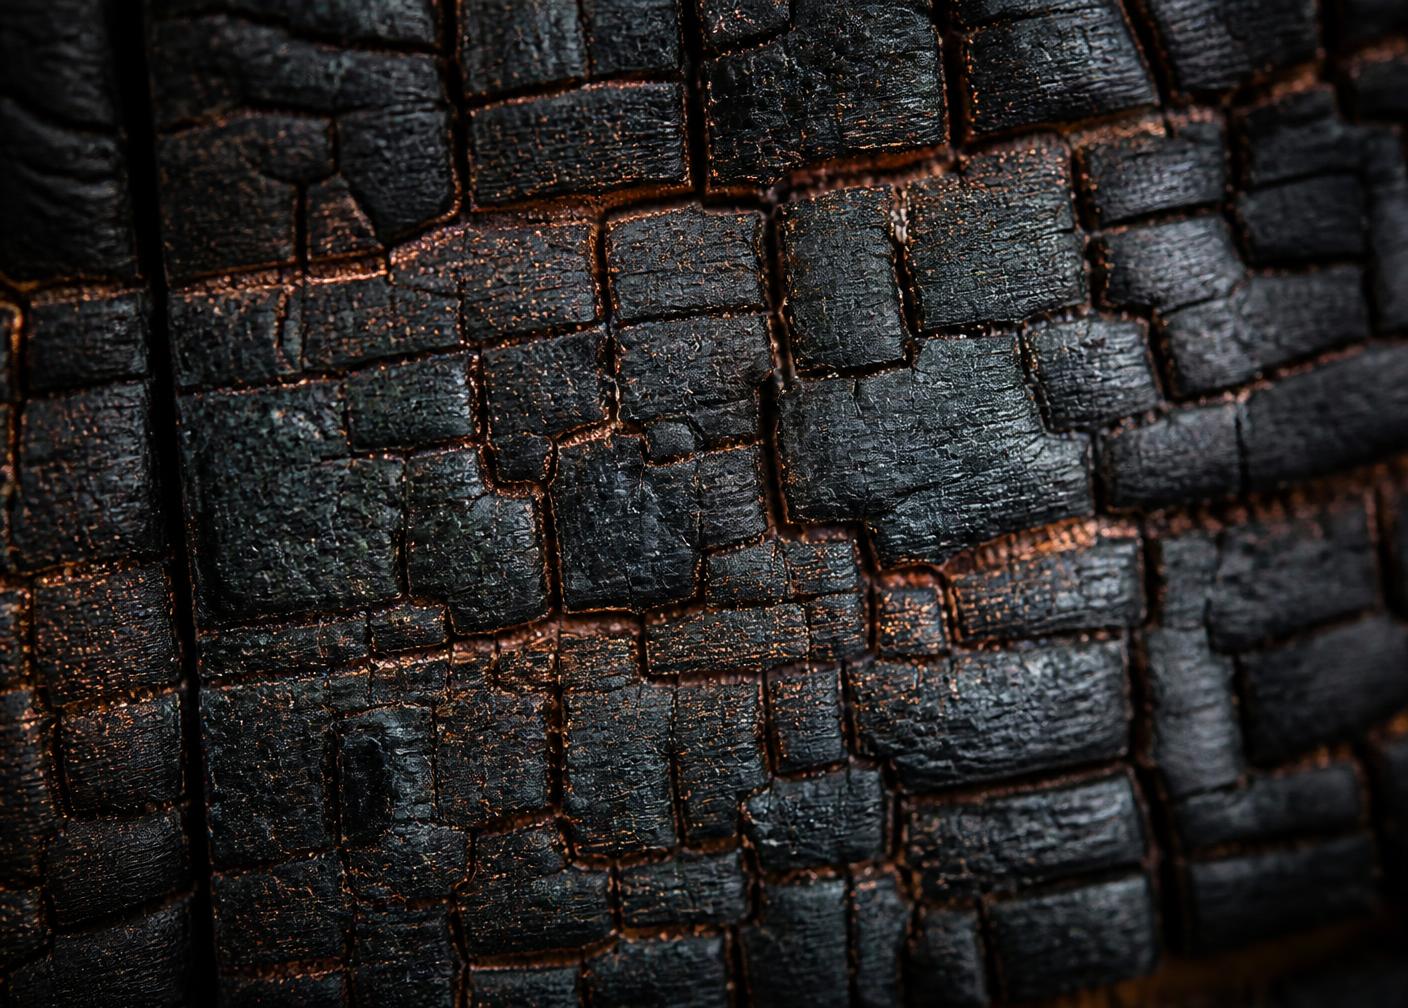
- Colour fading
- Silvering
- Gradual tonal variation
- Surface texture changes
- Limited release of small carbon particles from deeply charred surfaces in the early period after installation
These changes are natural properties of timber and shall not be treated as defects. Slight expansion, contraction and minor surface checking are likewise natural.
Maintenance intervals by finish
Maintenance requirements vary according to timber species, finish and exposure. Select your timber and finish to view the indicative re-oiling interval and recommended care instructions.
Choose your finish
Approximately every 5 years
Years
- Inspection
- Inspect the façade at least once a year for surface damage, splitting, coating deterioration or discolouration beneath the coating, which could indicate moisture penetration.
- Cleaning
- Clean the surfaces if necessary, never with a pressure washer, and let the timber dry completely before any coating.
- Re-oiling
- Brushed and oiled surfaces expose more grain and need a periodic maintenance coat of the matching oil to preserve colour and protection. Re-oil earlier if the surface shows significant colour loss or coating deterioration; if it remains in good condition, maintenance may be carried out toward the later end of the interval.
Source: Inflamed indicative guidance
Maintenance intervals are indicative and may vary according to project conditions. Inspect the façade regularly and contact Inflamed if you are uncertain about the condition of the surface.
Annual checklist
- Inspect colour and overall surface condition.
- Look for splitting, coating deterioration and impact damage.
- Check that stainless steel fixings remain tight.
- Inspect cut ends and any exposed timber.
- Check areas around openings, corners and flashings.
- Clean gutters and downpipes.
- Repair leaks that repeatedly wet the cladding.
- Record areas that may require local treatment.
Cleaning and maintenance
- 01Inspect the surface carefully for damage.
- 02Remove loose dirt carefully — never use a pressure washer, as it can damage the coating.
- 03Allow the timber to dry fully.
- 04Apply the correct finish-specific maintenance product.
- 05Work evenly, in the direction of the grain.
- 06Remove excess oil immediately with a cloth or sponge.
- 07Allow the surface to dry according to the product instructions.
Required working conditions
- Timber moisture content below 20% (below approximately 18% for Brushed Black Larch).
- Minimum temperature +5 °C.
- Relative humidity below 80%.
- No rain or surface moisture during the required drying period.
- Avoid oiling in direct sunlight — too rapid drying compromises the oil coating.
Step 04
Damage and spot repairs
What has happened to the board?
- Resin is a natural component of timber, often in pockets or around knots; some species contain more than others.
- Discharge commonly occurs on south-facing sides and darker hues, as the sun's warmth liquefies the resin.
- Once dried, resin can be removed with a gentle bristle brush and lukewarm soapy water, or denatured ethyl alcohol.
- Do not use other solvents - other substances may result in coating damage.
Not sure what you are looking at? Send us photographs of the board and we will tell you what to do.
Download centre
The guides behind this page
Installation Guide
Instructions for use and assembly of charred wood cladding: storage, ventilation, supporting structure, fixings and handling.
English · PDF · Updated v1.02
Maintenance Guide
General maintenance of charred wood: yearly examination, maintenance plan, charred layer products, working conditions and resin discharge.
English · PDF · Updated 2024
Quick User Guide
Supplementary quick reference for loading, unloading, stacking, cut ends and screw quantities.
English · PDF · Updated 2024
Black (Brushed) Larch — Maintenance Plan
Product-specific plan: routine inspection, maintenance oiling every 10–12 years, spot repairs and the factors influencing the cycle.
English · PDF · Updated 2025
Need guidance for your project?
Every façade is exposed differently. If you are uncertain about installation, weathering or maintenance, share your project details with the Inflamed team before beginning the work.